
Most blogs contain a comment section, where the content creator can interact with the readers of the blog. It can contain questions from readers, just general remarks, or complaints. They are useful for readers that want just a smidge more information, but they can be just as beneficial for the blog owners, as it may give them ideas for improvement or even ideas for future posts.
This post will show how to integrate Disqus into a blog, so that this interaction is enabled for you! The first two sections are generic, and the last section will cover how to add Disqus to a blog created with the same Gatsby starter, for which the posts can be found here.
What is Disqus?
First of, let’s talk about what Disqus even is!
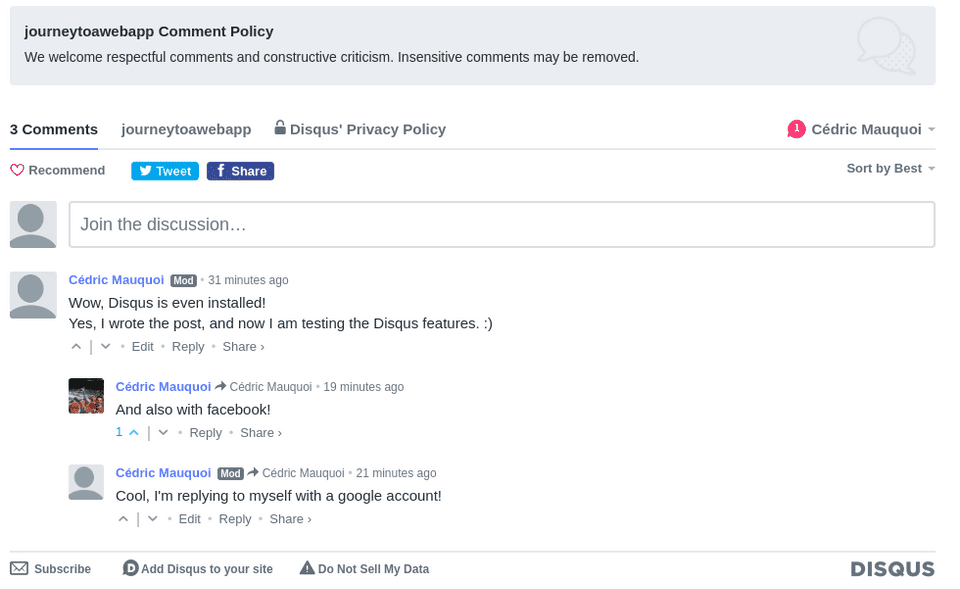
Disqus is a networked community platform that is used by an impressive amount of sites, many of which are quite large companies (e.g. abc News). By plugging Disqus into your blog (or application, for that matter), you can add commenting sections to your site, but the benefits don’t stop there. In fact, there is a multitude of cool features that you receive.
Immediate social network integration
While the Disqus comment section looks the same on every platform and is therefore quite well-known, the company is aware that not everybody would want to create a profile with them. Therefore they have made it possible to participate in discussions with your profile of other social networks, such as Facebook, Google or Twitter.
No need to store the comments yourself!
If you’ve ever thought of creating a comment section yourself, you know that there is a lot more to it than you’d think. Unless you want only anonymous posts, you’d need a way of authenticating users. You’d need to store the posts. You’d need a relation between users, comments, and the posts they’ve written the comment to. Essentially, you’d need a database with several tables…
Disqus takes care of all this for you, and comments appear only there, where they are supposed to be. Creators of statically generated sites will especially appreciate this, since they most likely do not have a backend or a database set up.
Always looks good (and familiar)
While you may not know Disqus as a name, you have definitely seen comment sections from it. As such, your readers will have a similar feeling and see a comment section that they are immediately familiar with. You won’t need to spend any time on thinking about which button to put where so that the commenters will find it - they already know the layout!
On top of this, Disqus adapts itself to the surroundings, to ensure it doesn’t stand out too much. For example, if you have dark mode enabled, Disqus will simply follow suit, and be in dark mode also.
Moderating
One of the settings of Disqus will allow you automatic features of moderation. Those can include when to close discussion thread, but also can go as far as to delete posts containing offensive words for you (if you want it to). Especially for large applications, this can be beneficial, as you most likely don’t want to spend a lot of time proofreading every single comment.
Analytics
The analytics of the free plan are quite basic, but hey, it’s free! They currently contain a day-by-day view of the comment activity on your site.
If you upgrade to their paid Pro subscription, you will get much more analysis tools provided to you.
Ads
The free version of Disqus unfortunately does not give you the option of disabling ads in the comment sections (anymore). However, if the content that’s published on your site is deemed as a good fit for the Disqus Reveal program, you will earn a slice of the pie.
Also, did I already mention that there is an option to use it for free?
Disqus setup
Okay, now that you know a lot of what Disqus has to offer, you’d probably like to get started. Well, Disqus being a young company right out of San Francisco’s, it’s just as easy as can be expected.
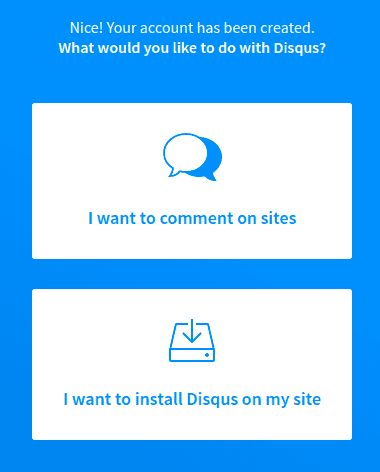
To get started, first you need to make an account. Then, simply go to the bottom of the Disqus landing page (or here, in short), where you need to specify your intent.
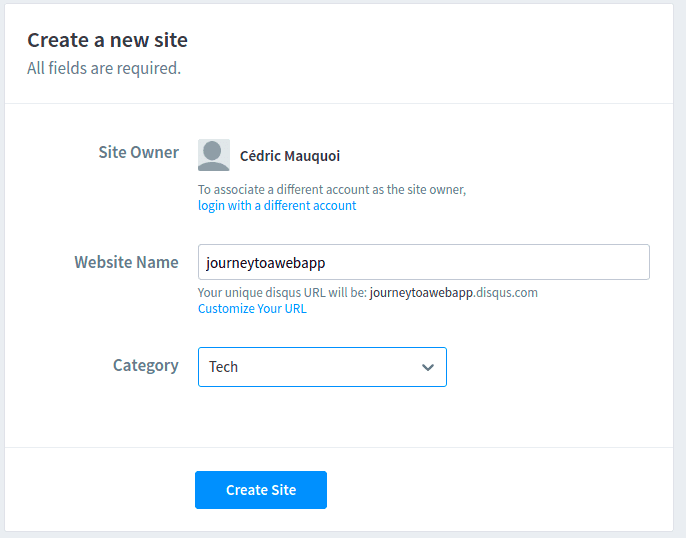
Next, you enter some basic information:
You can then already choose a package. If you’re anything like me, and you simply want to have a cheap (or ideally, free!) way of adding a comment section, choose the Basic package, which is free. I had to scroll down a bit to see it, as it initially seemed to not contain that option.

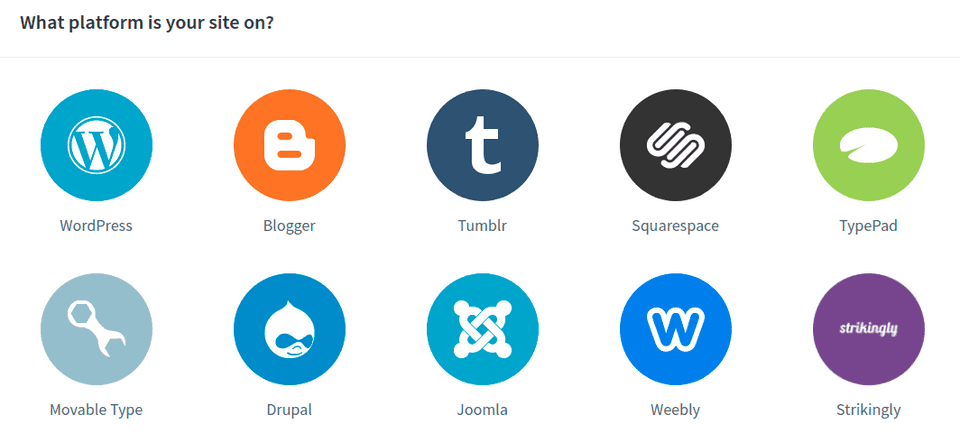
After having chosen the package, you need to specify which platform your site is on. This is great, since it will allow Disqus to adapt, depending on your need. It will also show you how to include the plugin into your site after the configuration is complete.
If you’ve followed along in the previous posts, choose Gatsby. If you are running on a different platform, please select it.
Don’t worry, we are now almost at the end. Next up is the moderation style. I have chosen the balanced option myself, as I want to allow guest comments. If I see that this gets out of hand, I will switch to the strict one.
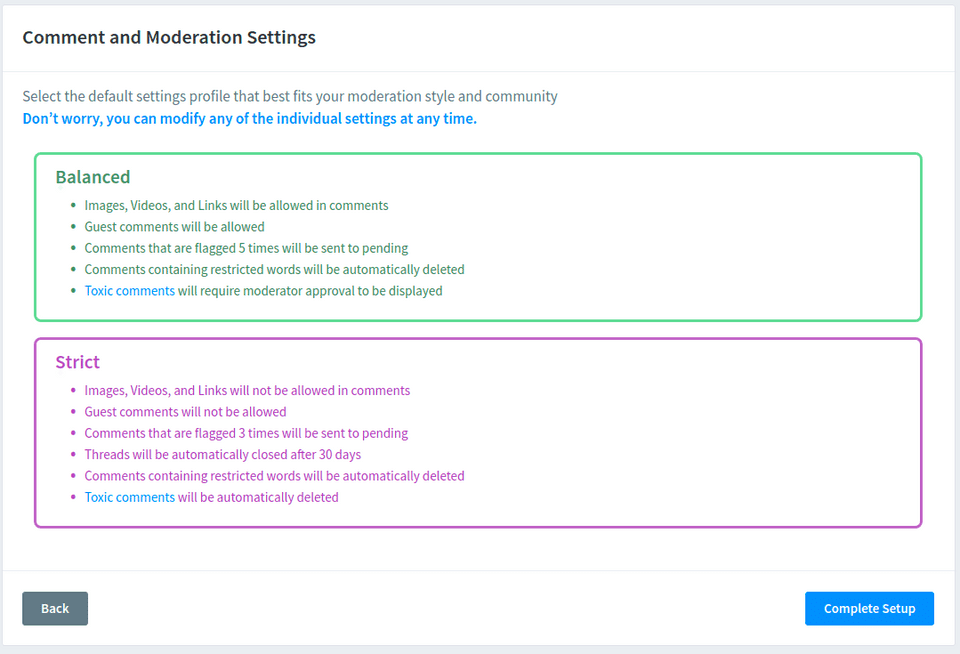
After clicking confirm, if any error has occurred, you can fix it now. For me, I had forgotten the https:// in front of the website name. After adding that
and confirming one more time, the setup is complete. You will now get some code snippets (or instructions, depending on your platform), and voila - you have a working commenting section!
Adding disqus to Gatsby
If you’ve followed along in the previous posts, and you’ve created your blog based on this post and the gatsby-starter-lumen, all that is now required, is to add
the shortname of your blog under the disqusShortname in the config.js. Really. That’s all!
You should now have an empty comment section under every single post!
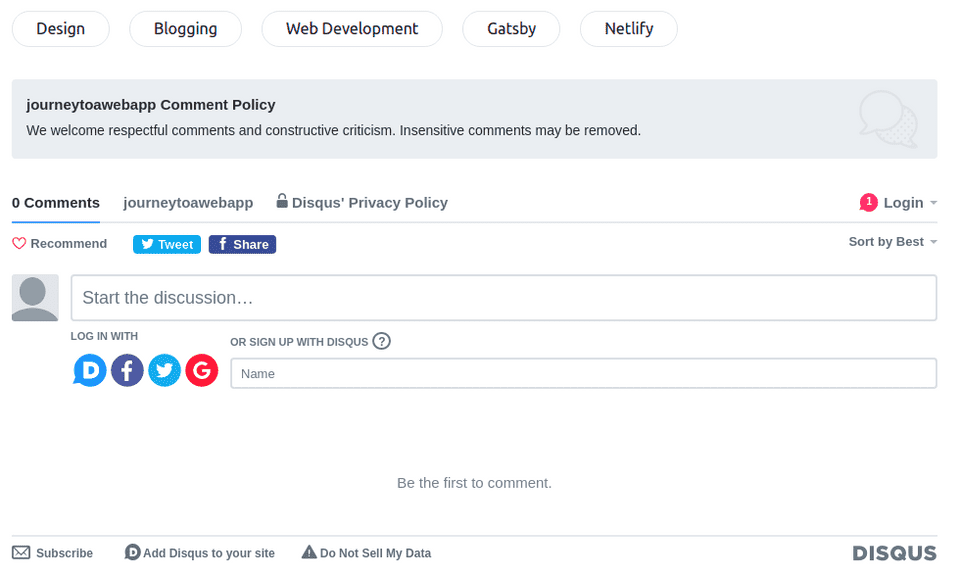
As a little nugget, if you do not want the short description about you, the author, and your twitter information
below every single post, but instead have the comment section right beneath the tags, simply remove the following snippet
from the Author.js.
<a
  className={styles['author__bio-twitter']}
  href={getContactHref('twitter', author.contacts.twitter)}
  rel="noopener noreferrer"
  target="_blank"
>
  <strong>{author.name}</strong> on Twitter
</a>
Congratulations on having your functional comment section on your blog! I wish you the best with it, and may your readers be well-behaved and very engaged!